Managing Your Employee Directory Profile
The employee directory offers a number of features for faculty and staff as well as students. Employee directory profile pages help students, faculty, staff, leadership, and the public find college information about instructors, staff, division affiliations, and program service providers on our campuses.
Your employee directory profile page is your extended directory entry for our community. Your profile is automatically created with some basic personnel information from the Active Directory. This page explains how to manage the fields you can access in your profile. Click on the topic below for more information and instructions.
1. Go to people.seattlecolleges.edu and click on the Log In button at the top of the page. 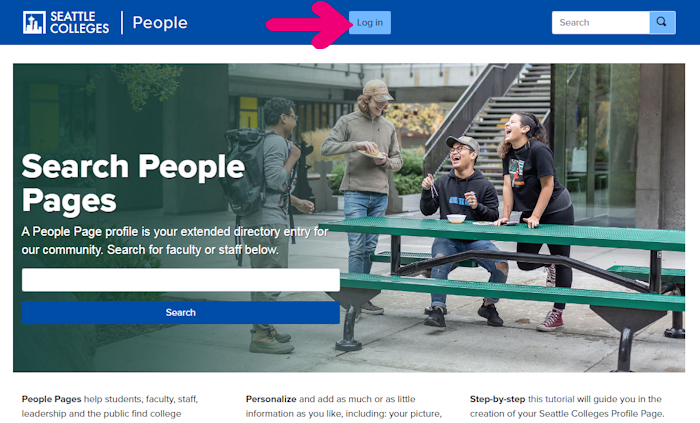
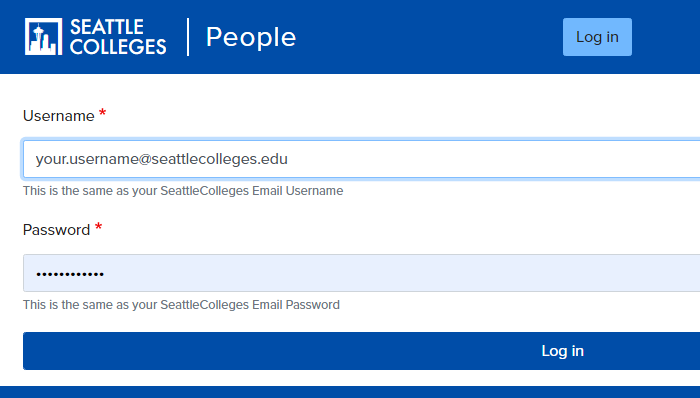
2. Login into your profile with your EAD credentials using the Log In button at the top of the homepage.
3. Click on the Edit tab.
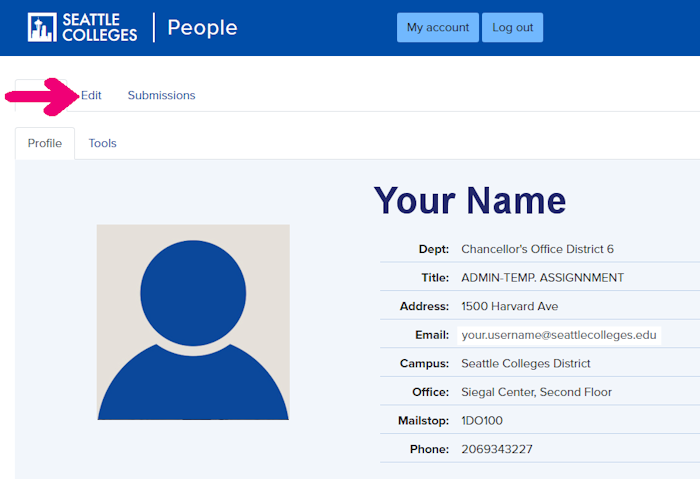
4. Here you can choose to view a number of menus, some of which allow you to add/edit several fields including:
Basic
- Add a photo (Refer to "Adding a Photo to Your Profile" accordion instructions below).
- Preferred Name - Add your preferred name, e.g. if your name in the system is Maribeth Jones, but you prefer Beth, add Beth Jones in this field. That name will appear in bold at the top of your profile.
- Office Location - Specify the exact location, e.g. if your office is in the Instruction Building at North, use IB 2417B.
- Office Hours - Add if applicable.
Professional Bio, Degree and Certificate
- Professional Bio - This optional field allows you to add a teaching statement or a short professional bio.
- Degrees and Certificates - This optional field allows you to add your degrees and certificates.
Note: recommended order is degree, area, institution - Examples: PhD, Biology, University of Washington; MA, English, Western Washington University; BA, History, Washington State University (List highest degree obtained first.)
Additional Profile Links and Resume
If you want to include your some additional profile links, you may add the following (Note: This must be an external URL such as http://www.linkedin.com/in/Maribeth-Johnson75ba9225/):
- Canvas Profile
- Zoom Profile
- LinkedIn Profile
- Starfish Profile
- You can also upload a resume (PDF format, one file only, 10 MB limit)
5. Make sure to save your changes by clicking on the Save button at the bottom of the page.
Log-in and Edit Your Profile - Video Tutorial
You can add a photo of your choosing to your profile. We recommend a “head and shoulders” style photo (examples below). Suit and tie are not essential, but they do look professional.

Recommended Size and File Type: 350 x 420 pixels – width: 350 px height: 420 px; jpg/jpeg files are accepted.

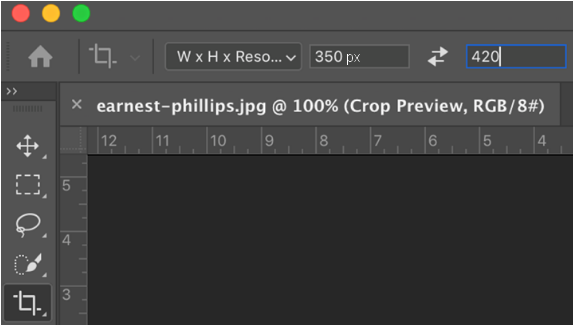
Cropping Your Photo with Photoshop
For those of you with access to Photoshop, below is a screen capture of Photoshop's crop tool.
Use these steps:
Click on crop tool > click the WxH dropdown at the top > put in dimensions 350W by 420H > save for web > check progressive box and save. Make sure the unit is set to pixels (px).
Feel free to use other image editors if you have access to them.
Uploading to Your People Pages Profile
Login to your profile and select the “Edit” tab. You should see “Display Picture” and then click choose file and upload. Make sure to save your changes by clicking on the Save button at the bottom of the page
You can then preview by clicking the “View” tab. Note: jpg/jpeg files are accepted, 512 KB limit.
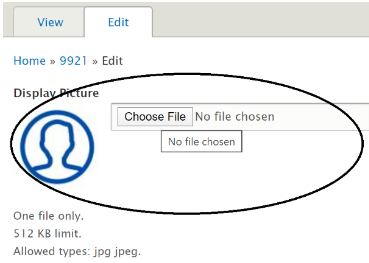
If You Don’t Upload a Photo
If you choose not to upload your own photo, the default photo will be a generic image (see below).

Learn how to create online requests to Add/Drop students to your classes. Class information for North Seattle, Seattle Central, and South Seattle can be found via the corresponding links.
Note: right click on any of the video tutorials below for an option to open the video in a new tab. This will allow you to see the video in a larger screen window.
Add-Drop
Manual Add-Drop
Pending (for Registrars)